Final Product What You'll Be Creating
Adobe Design Premium CS5 software offers you complete creative freedom without sacrificing precision or quality, whether working in print, web, interactive, or mobile media.
In this short tutorial, you will learn how to simulate chains, necklaces, or pearls using an easy and very efficient method with reactor in 3ds Max. After watching this, you will be able to simulate chains in just a few short seconds, a skill which can prove to be very useful in countless different situations.
Step 1
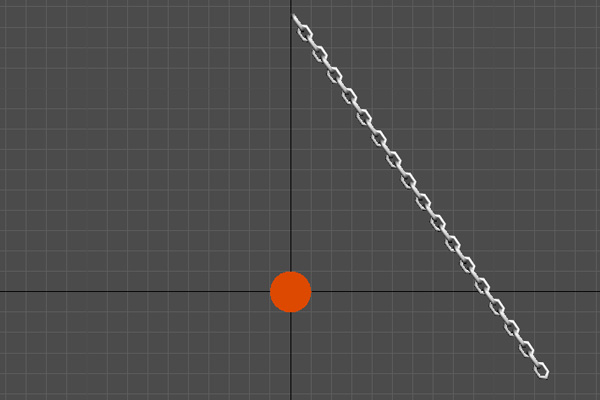
To make things easier, I have already created a chain and a deflector cylinder for you, so now let’s just see how to do the simulation. Open “Chain.max” if you are working with 3ds Max 2010, if not, import “Chain.obj” into your scene.
Step 2
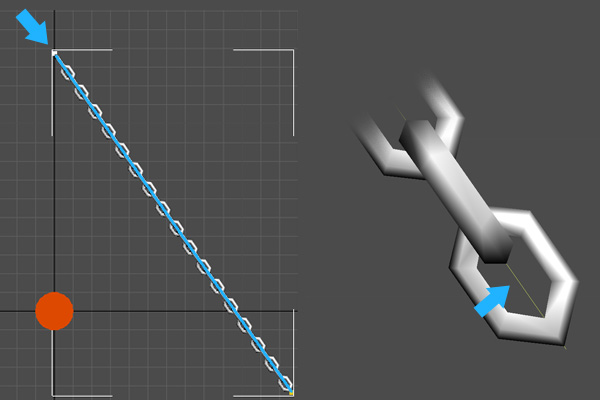
In the “Front” viewport, create a “Line” along the chain. This “Line” will be the object that you actually simulate, while the chain is driven by it using a “Skin” modifier.
Step 3
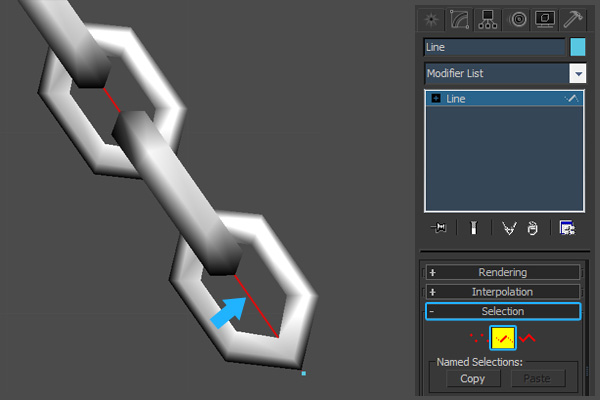
Select the “Line”. In the “Modify” panel, “Selection” rollout, click the “Segment” button, and select the existent segment of this spline. This segment needs to be subdivided to be able to simulate the “Line” with reactor.
Step 4
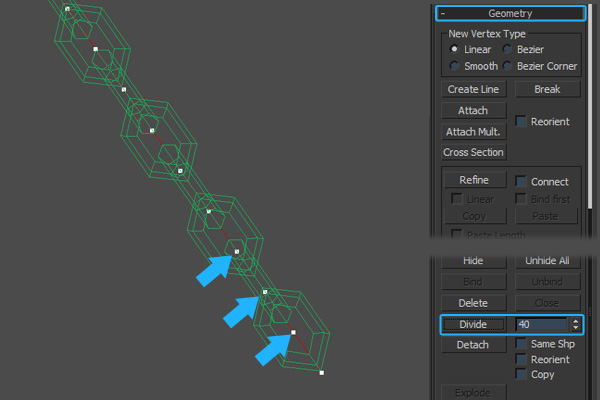
In the “Geometry” rollout, set the “Divisions” spinner to ‘40′, and click the “Divide” button. This operation subdivides the selected segment by adding the number of vertices specified by the spinner…in this case ‘40′.
Step 5
In the “Modify” panel, add a “reactor Rope” modifier.
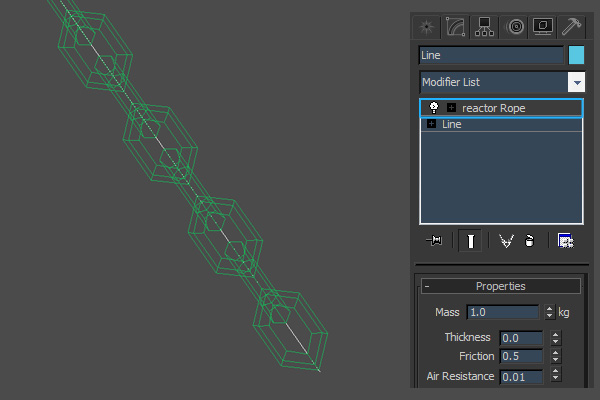
Step 6
In the “Properties” rollout, change the “Rope type” to “Constraint”, because you don’t need flexibility, and enable “Avoid Self-Intersections”.
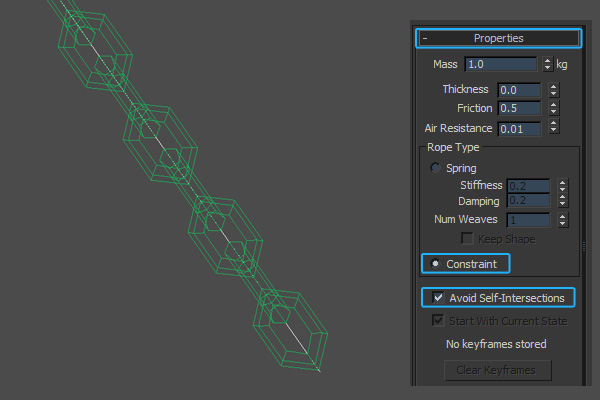
Step 7
Select the vertex from the top, and in the “Constraints” rollout, click the “Fix vertices” button.
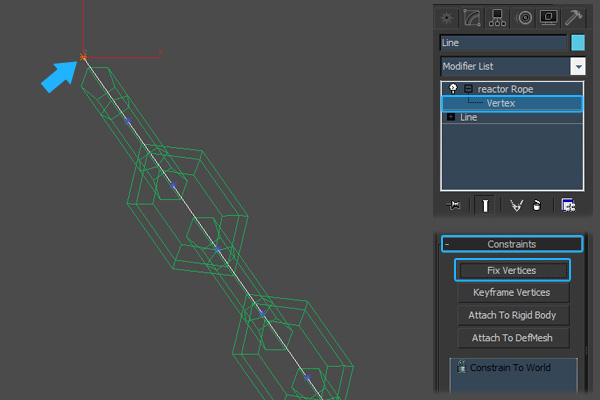
Step 8
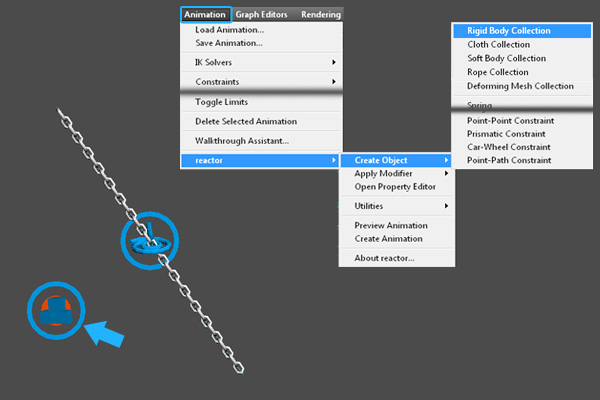
Now, you need to include these objects into “reactor Collections”, to be able to simulate them with reactor. With the “Line” selected, go to “Animation > reactor > Create Object > Rope Collection”. Now the spline is included in the newly created “Rope Collection”.
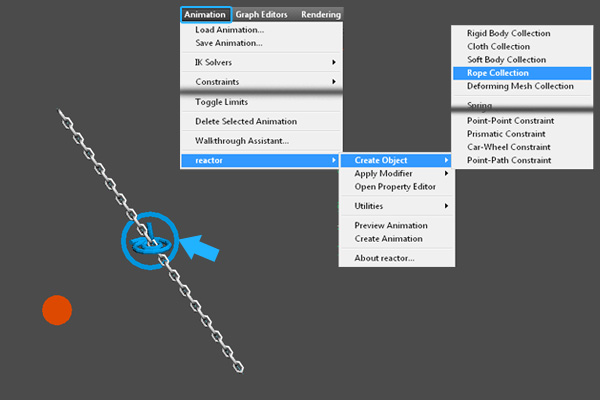
Step 9
Select the “Cylinder”, and add it to a “Rigid Body Collection”.
Step 10
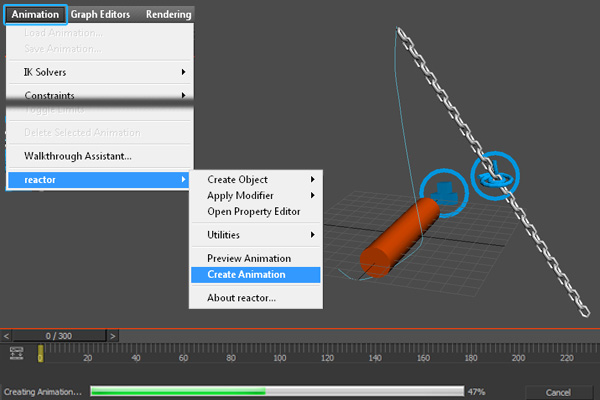
Go to “Animation > reactor > Create Animation”, to create the animation of this rope. You can also watch the simulation in real-time, by selecting “Preview Animation”.
Step 11
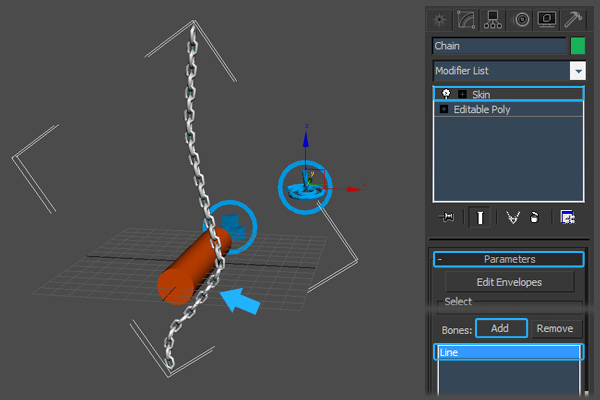
After a few seconds the simulation is done, and the “Line” acts like a rope. Go to Frame 0, select the Chain and add a “Skin” modifier to it. In the “Bones” section, click the “Add” button and select the “Line”.
Step 12
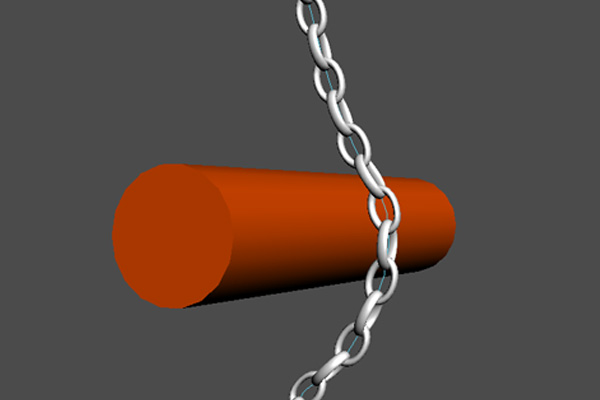
Play the animation. Now the chain is animated, and driven by the “Line”.
No comments:
Post a Comment