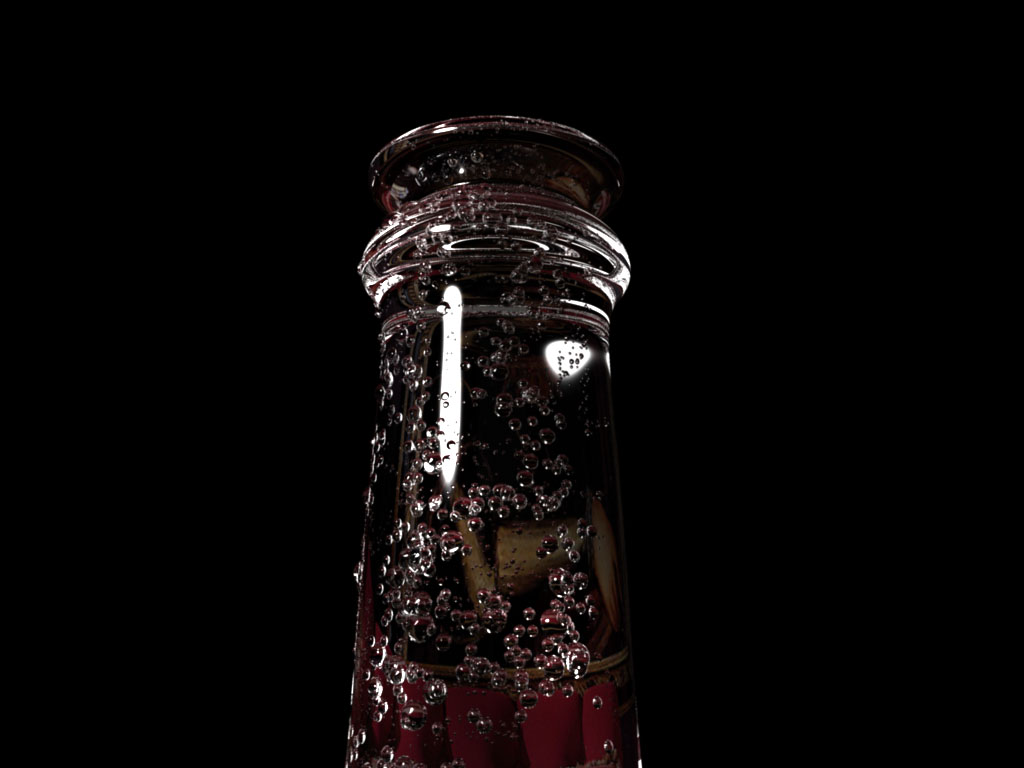
Final Product What You'll Be Creating
Adobe Design Premium CS5 software offers you complete creative freedom without sacrificing precision or quality, whether working in print, web, interactive, or mobile media.
In this Maya Quick Tip tutorial, you will learn how to create realistic looking condensation any object, specifically cold glass, and then quickly render it for a nice polished final effect using Maya Paint Effects.
Step 1
Model your glass object. It could be a bottle, window, or anything that gives you the feeling of coldness.
Step 2
Switch to the “Rendering Menu” by pressing “F6″ on your keyboard, select the object, and then go to “Paint Effects > Make Paintable”.
Step 3
Open “Visor” by going to “Window > General Editors > Visor”.
Step 4
Select “Surface Bubbles” from the list.
Step 5
Start drawing the bubbles on the object’s surface. If the bubbles direction is reversed, simply undo, select the object, then go to “Edit NURBS > Reverse Surface Direction”, or “Normals > Reverse” if the object is made with Polygons. Now draw again. Note: To control the brush size, press “b” and hold while moving your mouse Left or Right.
Step 6
When you have finished drawing your bubbles, you may need to edit the following properties:
Sample Density: Increases or decreases the bubble density. Surface Offset: Controls the distance between the object and the bubbles. Smoothing: Smooths the bubbles path (underlying curve). For me, the Density = 0.6, the Surface Offset = -0.010, and the Smoothing = 10.
Step 7
After that you can also add some tiny bubbles to fill in the empty area.
Step 8
Now you can render you scene using “Maya Software” or “Mental Ray”.
For Maya Software Render, adjust the “Specular” and “Depth Shadow” attributes in the “Attribute Editor”. This will allow the “strokeSurfaceBubbles” brush to get a better render.
For Maya Mental Ray Render, convert the Paint Effects to Polygons, and use “Mia_Material > Glass Presets” for the bubbles on the surface. You can use IBL to give reflections too if you like.